Full Page Screenshot
Snipping Tool for Chrome: Capture Any Part of a Webpage
 Kaushik Prasath· Founder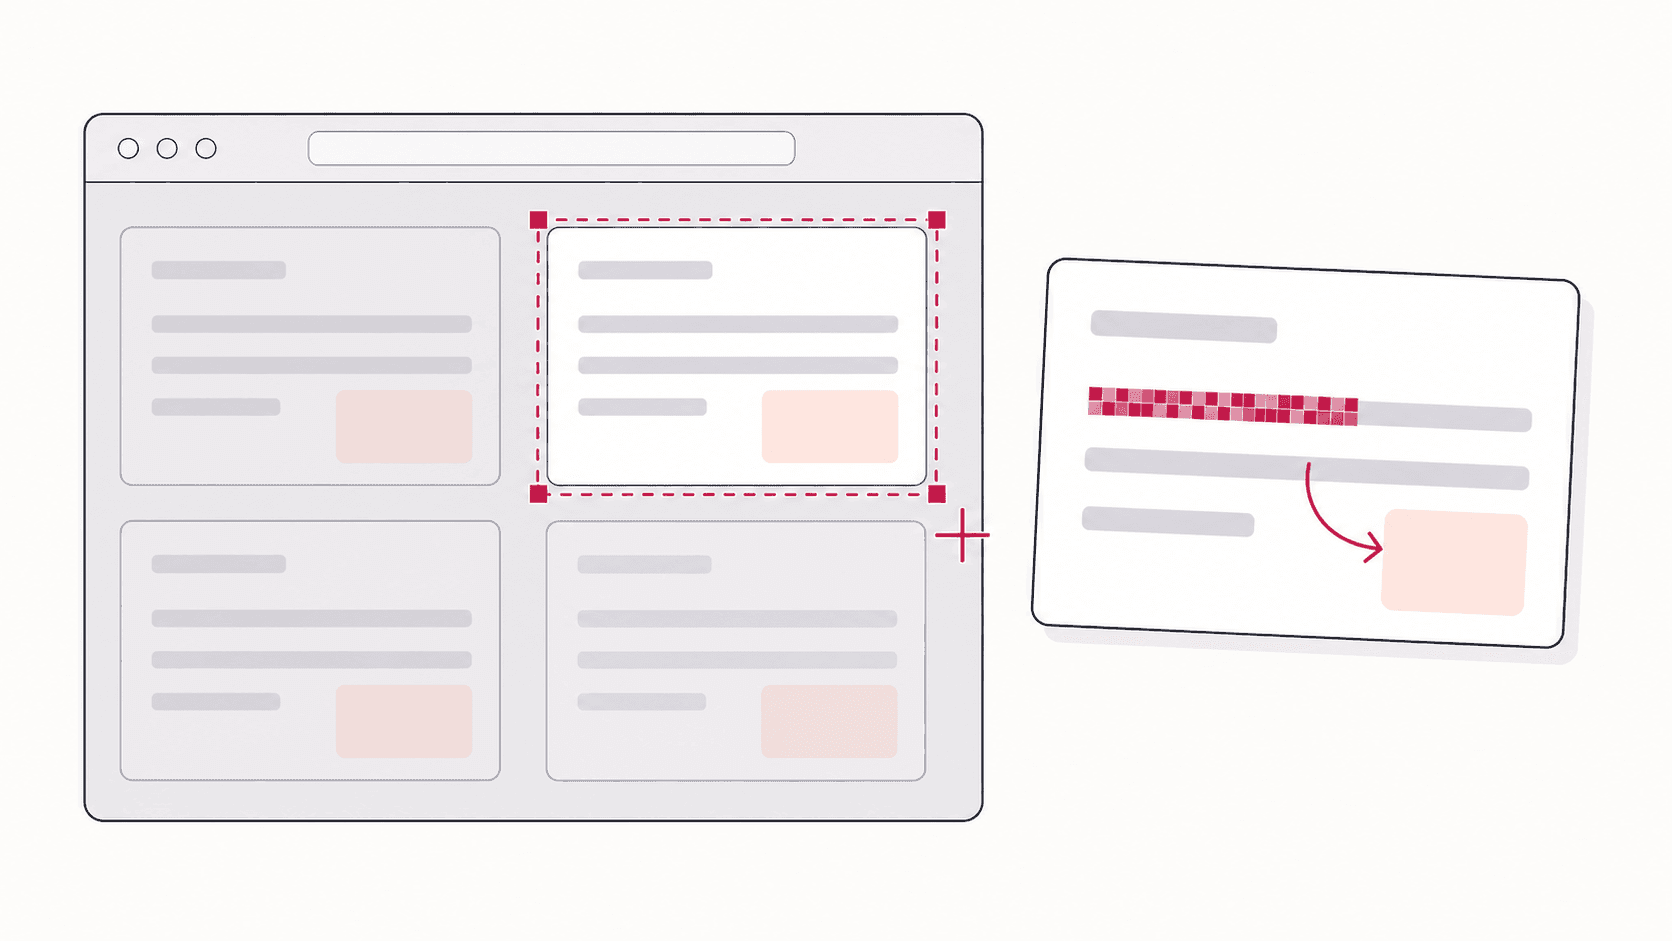
Chrome does not ship with a snipping tool of its own, but you can add one in a single click. The Snip & Capture mode in the free Full Page Screenshot extension lets you drag a box over any part of a webpage, captures exactly that region, and opens it in an editor where you can annotate, blur, and export it. Here is how snipping in Chrome works on Windows, Mac, and Chromebook.
Does Chrome have a built-in snipping tool?
Not directly. Chrome's own capture options are all-or-nothing: DevTools can capture the full page, and your operating system can capture the screen, but neither gives you a quick drag-to-select rectangle inside the browser. The OS tools also capture the browser chrome (tabs, address bar, your bookmarks) along with the page, which usually means a second trip to a cropping tool. A snipping extension solves both problems: it selects within the page content only, and it drops the snip straight into an editor.
How to snip in Chrome
- Install the free extension from the Chrome Web Store.
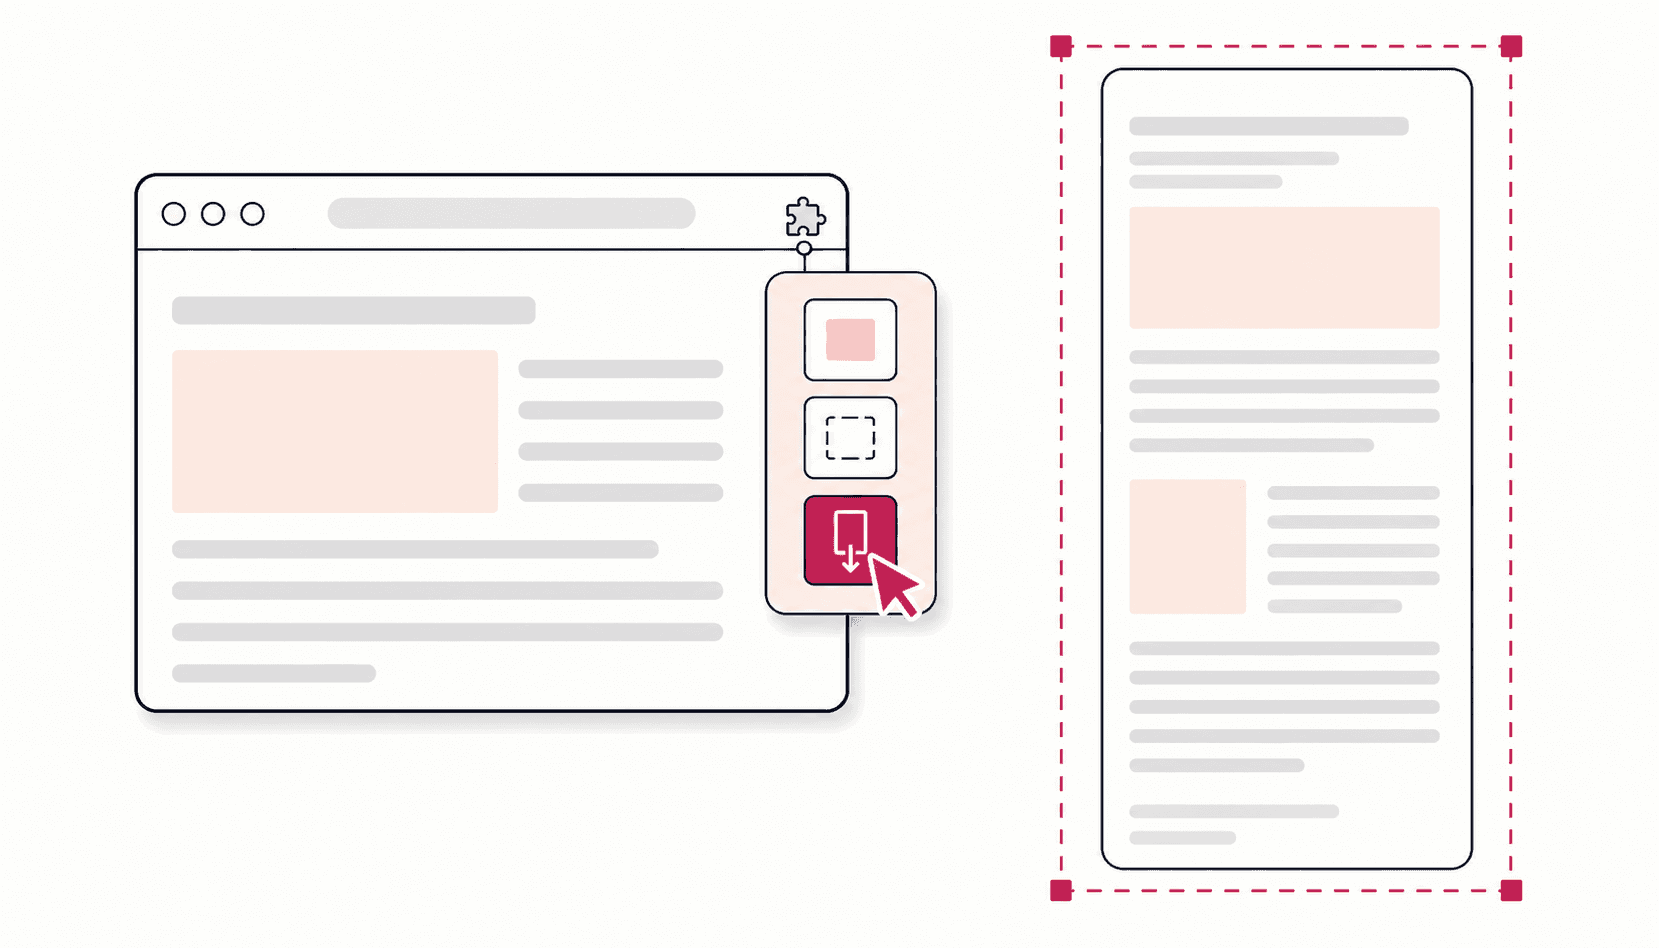
- Click the extension icon in the toolbar and choose Snip & Capture.
- Drag a box around the region you want. Release the mouse to capture it.
- The snip opens in the editor automatically: add text or arrows, blur anything sensitive, crop the edges.
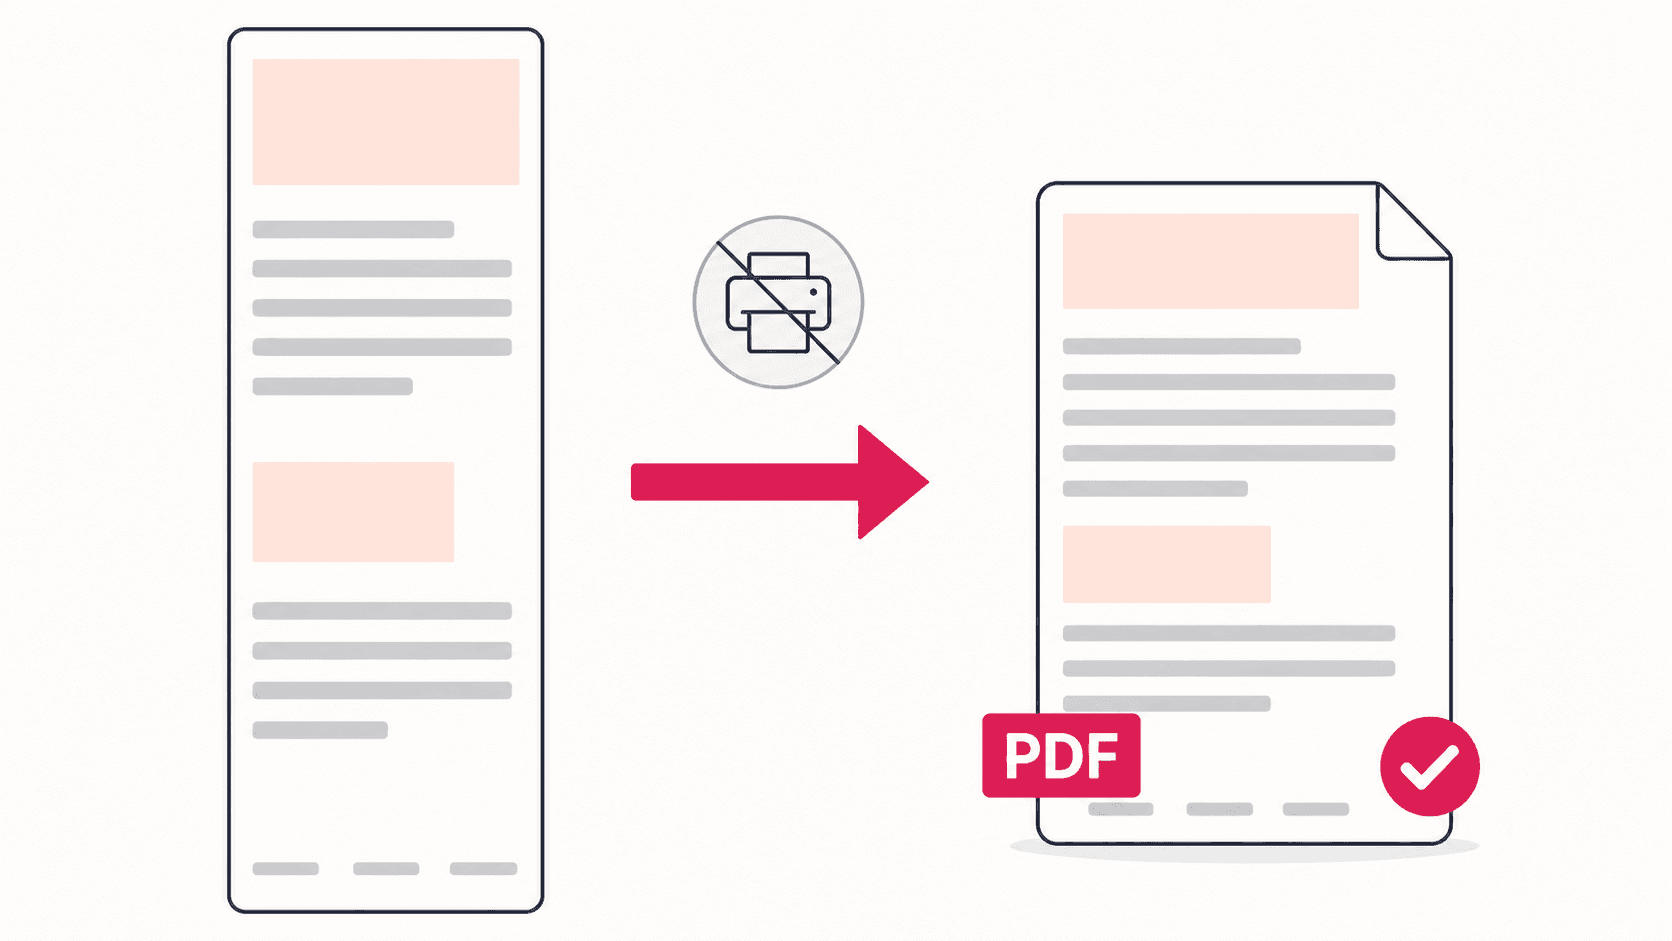
- Export as PNG, JPG, WebP, or PDF, or copy it straight into a chat or document.
The whole flow runs locally in your browser. It works offline, needs no account, and collects no data.
Snipping on a Chromebook
Chromebooks are a special case worth being honest about. ChromeOS does have a built-in Screen capture tool: press Shift+Ctrl+Show windows (the key that looks like a rectangle with lines) and choose partial capture. It is fine for occasional snips of the whole screen.
The extension route is still worth having on a Chromebook for three reasons: it snips within the webpage rather than the whole screen, the built-in editor saves the separate open-edit-save round trip, and you get format choices (ChromeOS captures are PNG only, while snips you plan to email or upload are often better as JPG or WebP). Chrome extensions run natively on every Chromebook, so the same one-click install applies.
Snip, visible area, or full page: pick the right mode
Snipping is one of three capture modes, and choosing the right one saves editing time:
| You need | Use this mode |
|---|---|
| One chart, one paragraph, one error message | Snip & Capture |
| Exactly what is on screen right now | Visible Area |
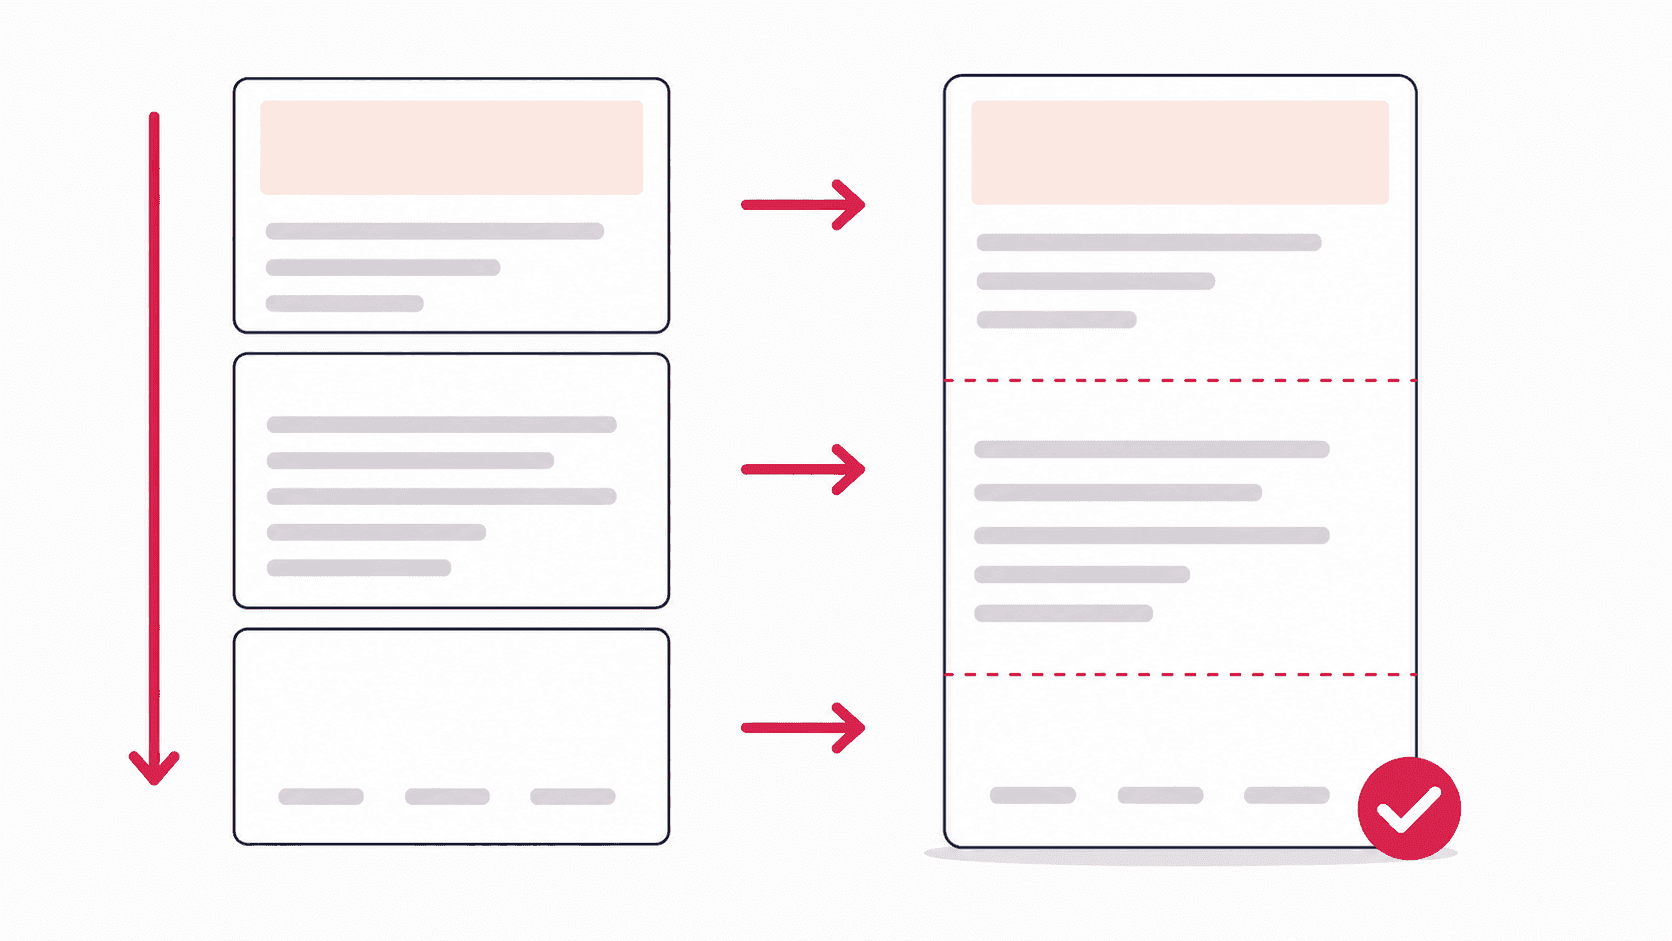
| The whole page, top to bottom | Full Page (guide) |
If full page capture is the main job, the comparison of full page screenshot extensions covers which tools handle it best. A useful habit: snip when the context around the content does not matter, capture full page when it does. An invoice total can be a snip; a pricing page you are archiving should be the entire page so the terms below the fold are preserved.
Edit your snips: annotate, blur, crop
Every snip opens in the same editor as full page captures, with seven tools: text, arrows, rectangles, circles, freehand drawing, blur, and selection. The blur tool is the one to remember. Before you share a snip of an order confirmation, a dashboard, or a support ticket, blur the email addresses, order numbers, and names in a few strokes. Snipping online invoices and receipts instead of downloading them as files is a common workflow exactly because the sensitive parts can be redacted before the image goes anywhere. When the snip is headed for a report or an archive, export it as a PDF; the PDF guide covers when that beats an image.
Keyboard shortcuts for faster snipping
If you snip often, set a keyboard shortcut: open chrome://extensions/shortcuts, find Full Page Screenshot, and assign a key combination to it. Combined with the editor's copy button, a capture-annotate-paste loop takes a few seconds without touching the mouse more than once.
Chrome snipping tool vs the Windows Snipping Tool
The Windows Snipping Tool (Win+Shift+S) is good at what it does, and if you are capturing something outside the browser it is the right tool. Inside Chrome, the extension has three practical advantages: it captures page content without the window chrome around it, the annotate and blur step is built in rather than a separate app, and the same tool and shortcuts work identically when you switch to a Mac or Chromebook. The Windows tool also cannot capture below the fold, so the moment you need more than the visible screen you are back to a full page capture anyway.
FAQ
Does Google Chrome have a snipping tool?
Not built in. Chrome can capture the full page through DevTools, but it has no drag-to-select snipping feature. A free extension adds snip, visible area, and full page capture modes with an editor included.
How do I snip on a Chromebook?
Press Shift+Ctrl+Show windows for the built-in ChromeOS partial capture, or use the Snip & Capture mode in the extension to select within the webpage and edit the snip immediately. Chrome extensions work natively on Chromebooks.
Is there a free snipping tool extension for Chrome?
Yes. Full Page Screenshot is free, includes Snip & Capture alongside visible-area and full-page modes, works offline, and exports to PNG, JPG, WebP, or PDF with no watermarks or account.